
RESTORATION OF 1969 VW BAJA BUG and FLOOR PAN REPLACEMENT DIY
Lots of photos of replacing rusted floor pans &
parts on a 1969 VW beetle, that had been long ago, converted to a Baja Bug.
Complete floor pans came from 'Midwest VW Parts'.
|
RESTORATION OF 1969 VW BAJA BUG and FLOOR PAN REPLACEMENT DIY
Lots of photos of replacing rusted floor pans &
parts on a 1969 VW beetle, that had been long ago, converted to a Baja Bug.
Complete floor pans came from 'Midwest VW Parts'.
|
|
|
|
|
||
|
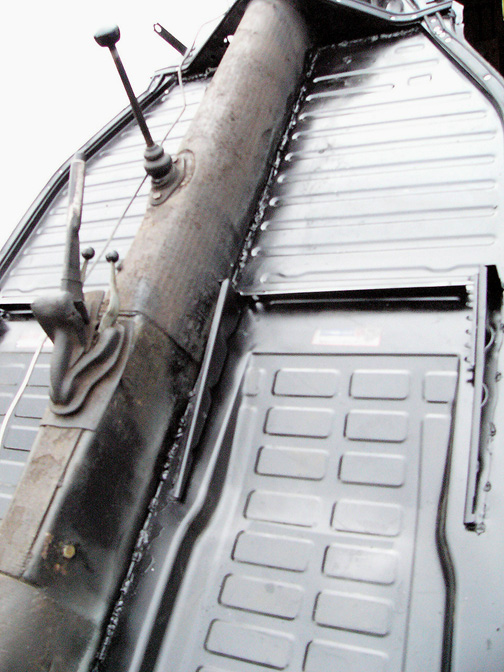
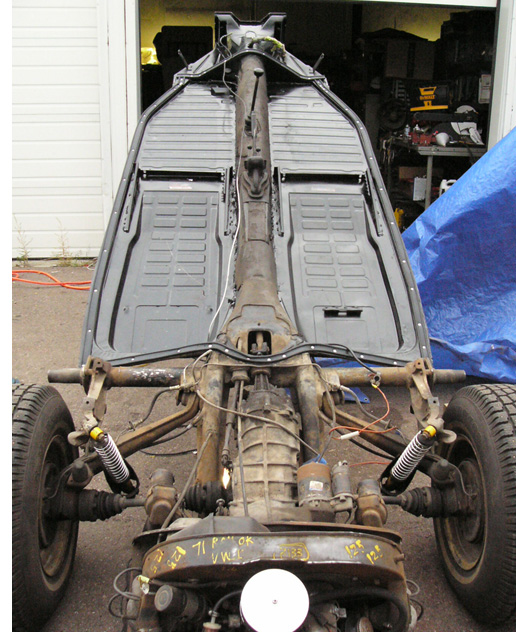
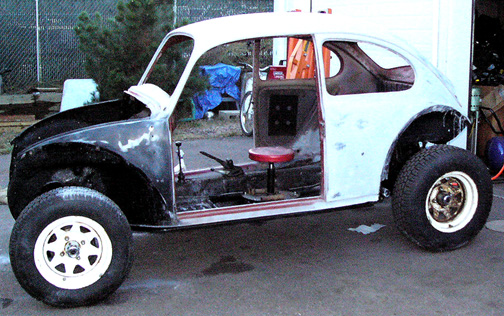
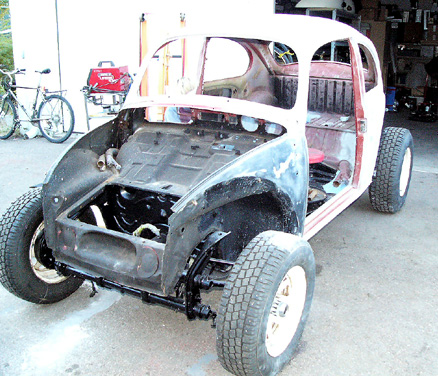
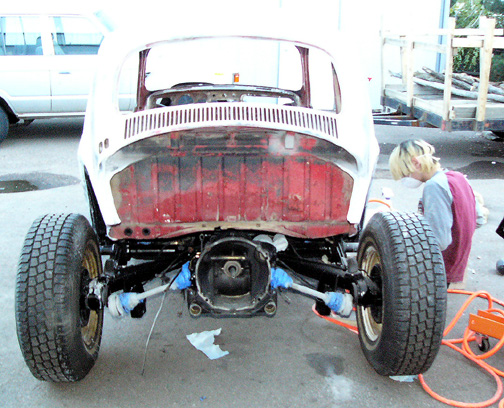
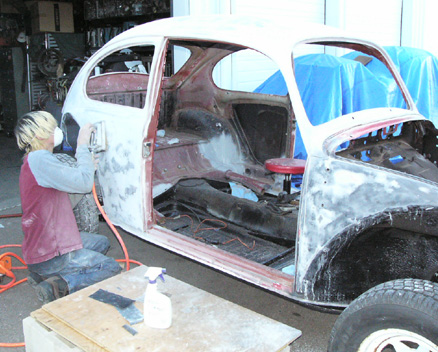
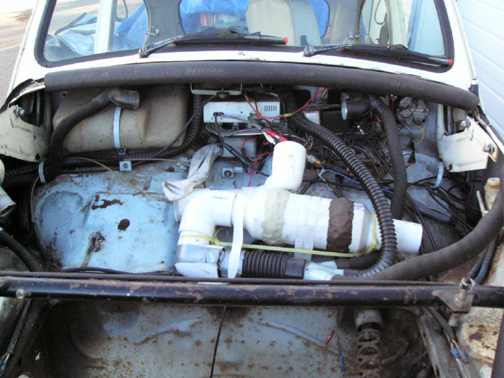
Below is a photo essay of the progress on a 1969 VW bug that had been Baja'd years ago that was 're-taken' on by Camerion Gholson. When he started on it, it was a $500 'driver' (sort-of), but had all the typical rust. It's of course a 1600cc, dual-port w/ IRS transaxle. We ordered new, full, pans and changed from the original '69 body to a '68 body that had much less rust. We will add more photos as it progresses. |
||
|
Photo collage of the car prior to beginning work. |
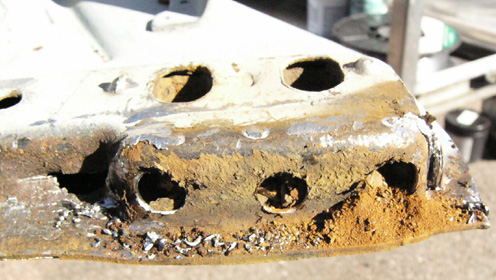
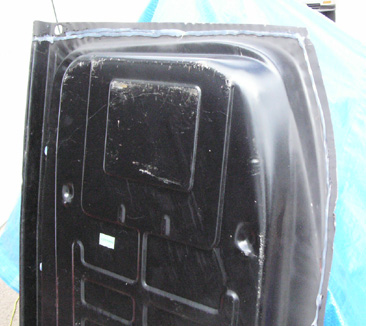
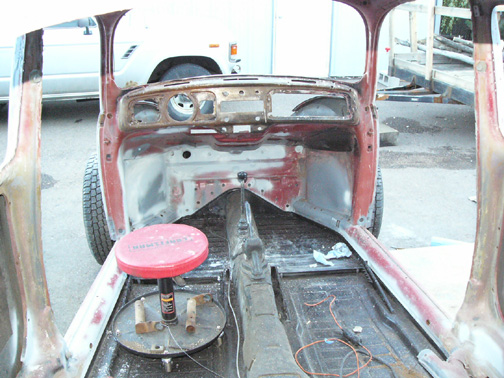
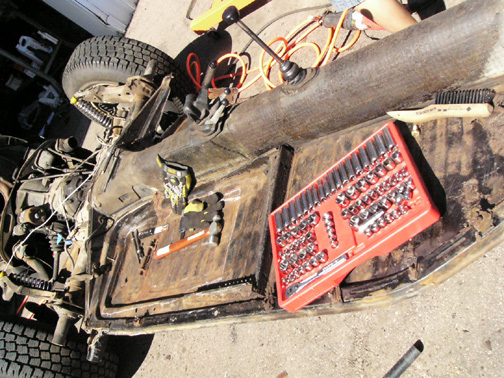 Original rusty pans. One side had been fiber-glassed to keep the water out. |
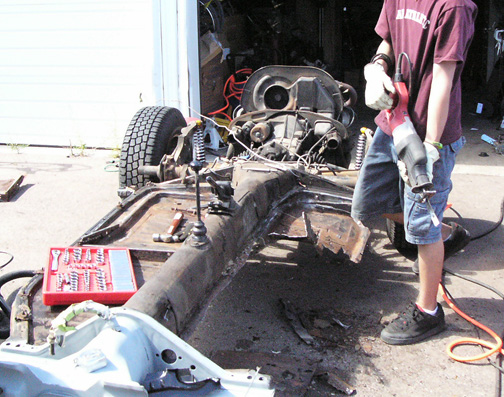 Cutting out the old pans. Camerion cut the large parts out first with a Sawzall, then used an air chisel to remove the spot welds holding the rest of the pan edges from the hump. |
 |
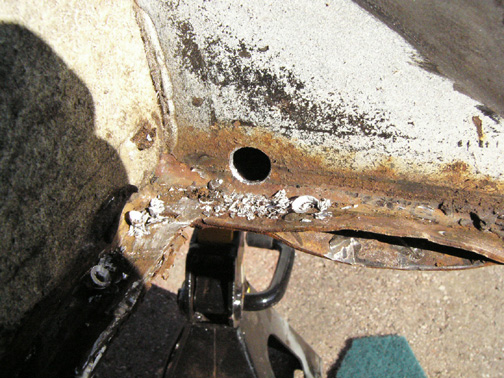 |
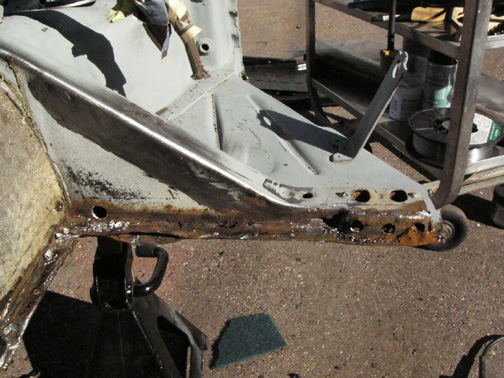
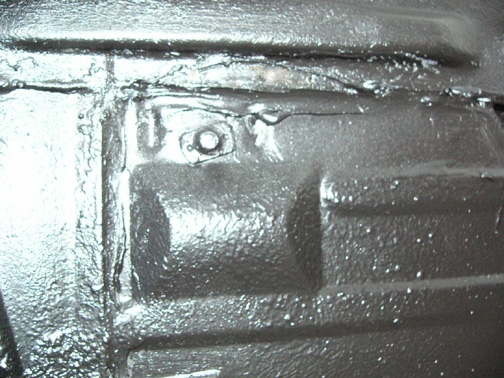
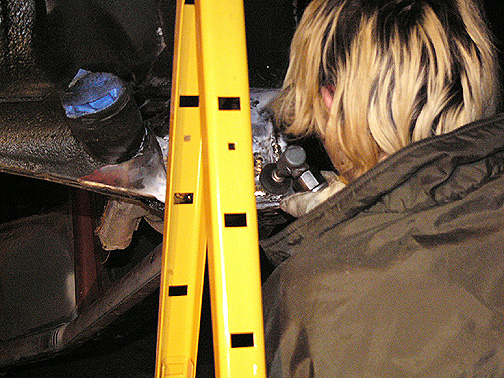
 He drilled out the front horns and hump area to clean, to inject rust inhibitor, then to inject silicon to fill them up. |
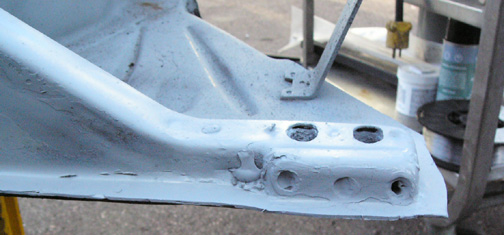 After filling with silicone, the parts were sprayed with zinc primer. |
 |
 Ready for final grinding and surface prep for welding new pans into place. He used a wire brush to remove the primer from the area to be welded, but no more than necessary for a clean weld. |
 New VW floor pans from Brazil ordered through "Midwest VW Parts". He put a thin bead of silicone on the pan. It needed to be thin so it would not seep into our weld area. |
 Just after the new pans were stitch welded in place (using a Lincoln SP125 Plus wire welder) |
 New pans installed. |
 The bottom was silicon sealed completely, then undercoated using Brush-on undercoating / bed lining. This worked very well. |
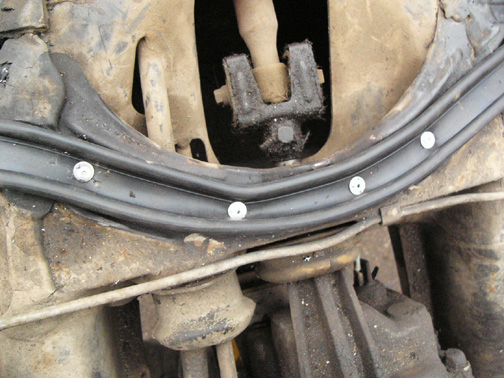
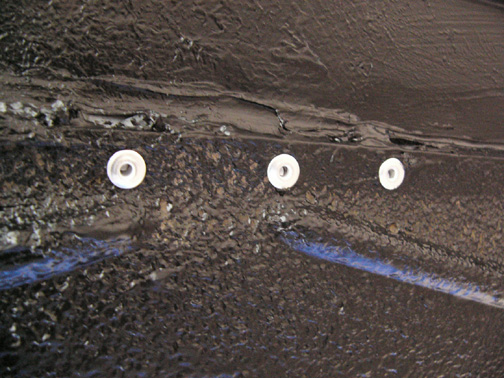 Due to an inability to get the welder nozzle between the hump and the seat rails, he used rivets to secure the area. These rivets were later coated with bed liner as well. |
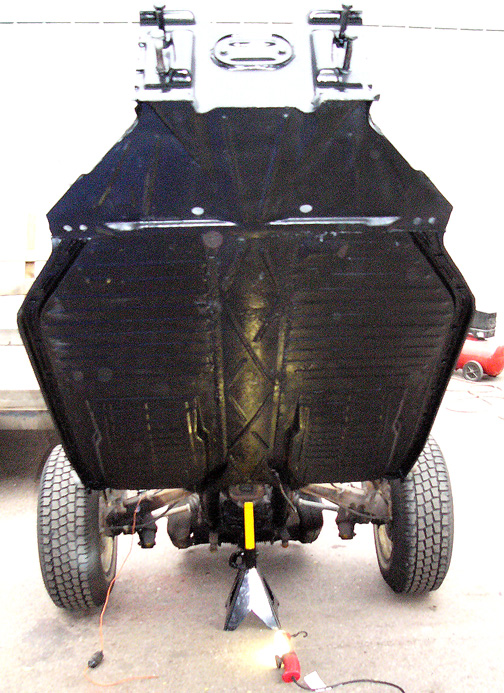 New VW bug floor pans undercoated. |
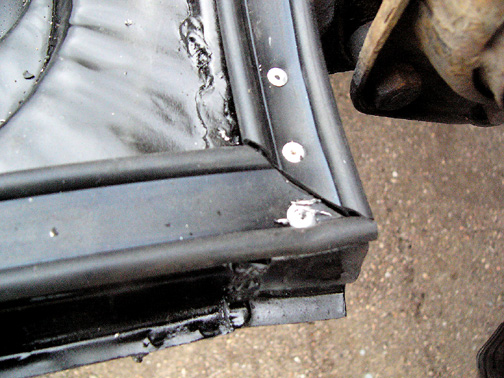
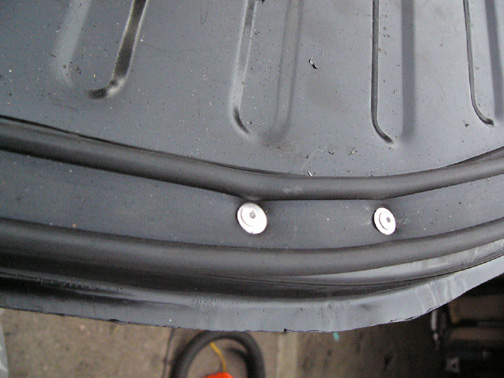 New body seal installed on the floor pans. Use washers under the rivets to avoid the rivet heads pulling though. |
 |
 |
 New pans installed. Too bad the rest of the car doesn't look as good yet. |
||
|
|
||
| - | Starting on the body. |
 |
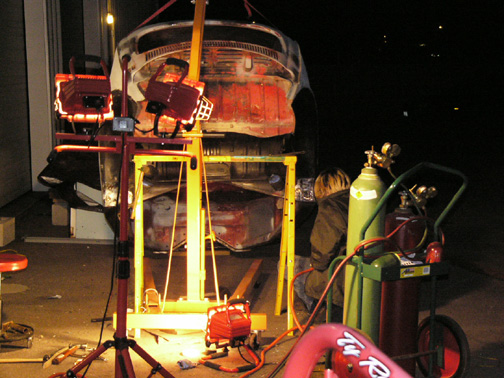
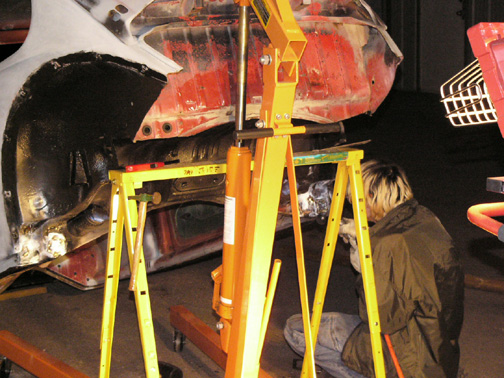 Camerion Gholson working into the night on the bug. |
 |
 |
 |
 |
 |
 |
Color options we're thinking of going with. |
 |
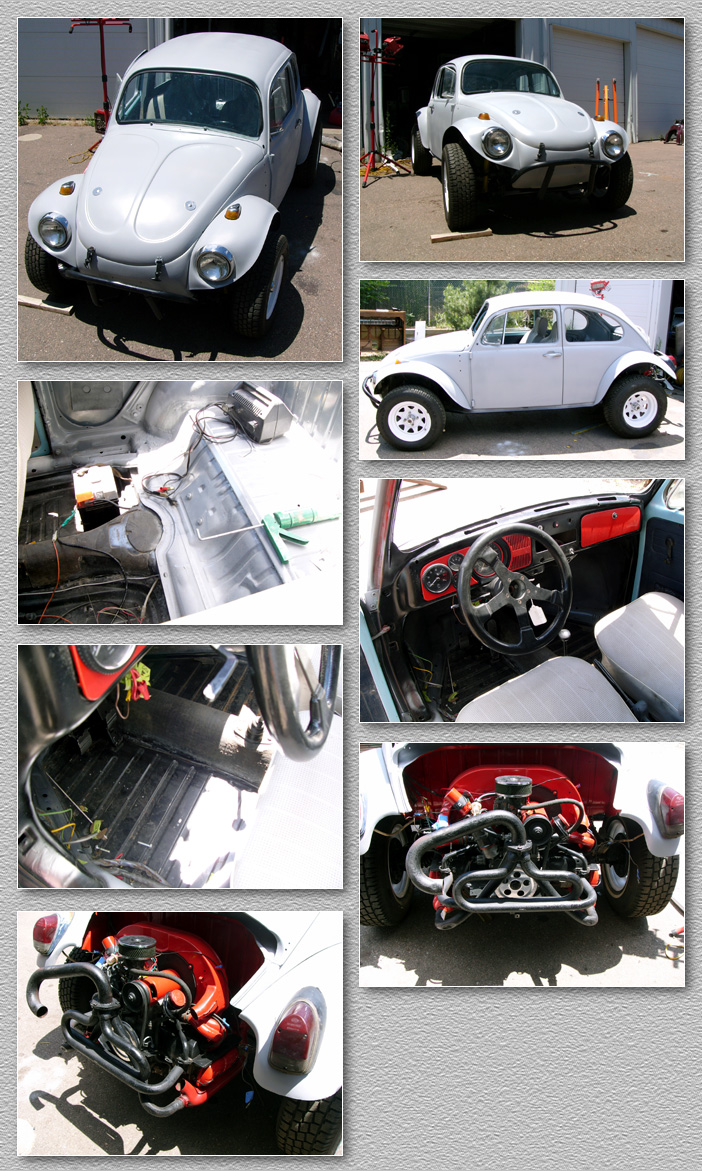 Jumping forward quite a few steps, this is about where it's ended so far.... |
Here's a photo collage of an old
body, where the top was removed and the heater channels severed. Below is a
reference of the cross sections for those of you that are chopping a bug top
or turning one into a rat rod, or whatever. 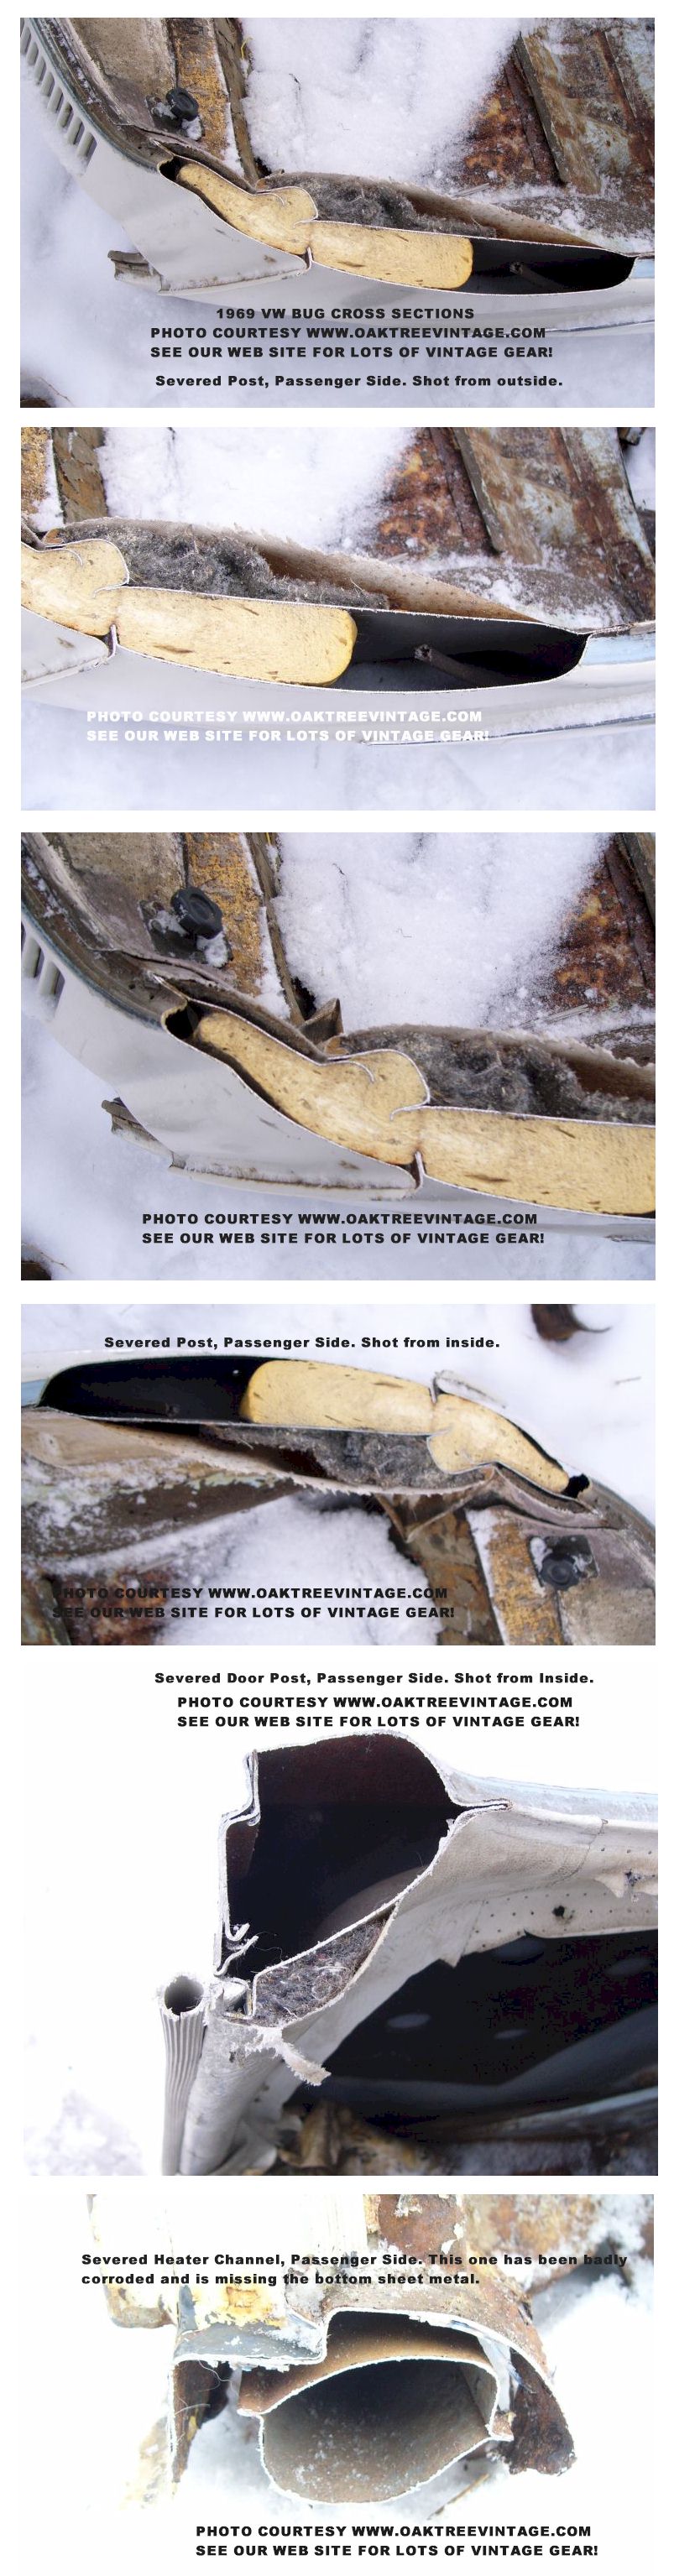 Click on the above collage to enlarge photos. |
|
| - | - | - |
|
|
|
|
|
|
|||||
|
|
|
|
|
|
|||||
|
|
|
|
|
|
|||||
|
|
|
|
|
|
Wondering where
the "tone" you remember went?....

.... Surround yourself with Silver and find it again!
If you have additional information or
resources to make known:
HOME
PAGE | FAQ'S
|
LINKS
sales@oaktreevintage.com
POLICIES, SPECIFICATIONS, AVAILABILITY, INFORMATION
AND PRICING SUBJECT TO
CHANGE AT ANYTIME AND
WITHOUT PRIOR
NOTICE
and changes may not be posted to web immediately.
Copyright © 1997-2025 Oak Tree Enterprises, LLC